Tuesday, September 15, 2009

Seat Covers For Dining Chairs - 1941

Another swell project from Ruth Wyeth Spears, from Sewing Book 1, 1941. These could be very formal or jaunty and cheerful...whatever you want!

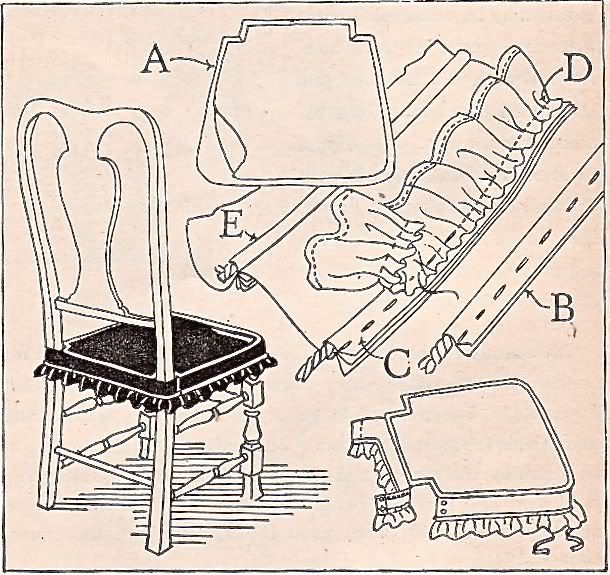
"Give your dining room chairs a fresh start with seat covers of substantial, firmly woven cotton material. A plain color in an interesting weave or a fabric with a small figure is most suitable.

To make a pattern for the covers, place a sheet of paper on the seat and press it down along the chair edges to make an imprint of the seat outline. When using this pattern add a 2-inch seam allowance as at A. A straight band covers the wood frame at the sides, and a narrow fringe or frill may finish the bottom.

Give the covers a professional finish with welted seams. The cable cord for the welting is covered with bias strips of the material or with bias trim as at B. This is basted to the right side as at C, and then stitched as at D. A finished welted seam appears at E. Tapes are sewn to the inside of the front corners to be tied around the legs. Snap fasteners are used for the closings."

Monday, September 14, 2009

"It's Easy To Make An Ottoman" - 1941

Since I'm thinking you have more energy this week than I do (pass the orange juice and asprin, please), you go right ahead and make an Ottoman...cover it with something fantastic and then invite us all over for tea. Of course you'll need to have a "woman who is clever with the needle, aided by the man who is handy with tools".
This is from "Sewing Book 1" by Ruth Wyeth Spears, this booklet is from 1941. This one seems to have a lot of household projects, so get ready to transform your home.

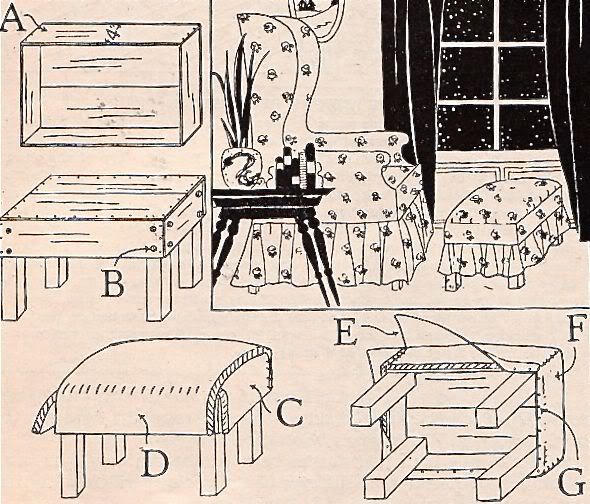
"The woman who is clever with the needle, aided by the man who is handy with tools, can make this ottoman for almost nothing. The foundation is a 4-inch deep wooden box as at A. For legs, use lengths of wood cut two inches square, which you can obtain from any carpenter or lumberman, or cut down a set of legs from an old table to the correct size.

Cotton batting is needed for padding. Use six layers on the top, cutting the first layer 4 inches smaller all around than the top of the box, and the others each a little larger than the one underneath; cut a piece to go over the top and ends, as at C, another to go over the top and sides as at D. Stretch a piece of muslin over the padding, cutting the corners as at E. Sew as at F, tack the bottom as at G.

The ottoman cover may be finished with a frill, to match a slip-covered chair, or a tailored effect may be achieved with braid or fringe."

Sunday, September 13, 2009

Saturday, September 12, 2009

It's NOT swine flu...

...but I have some nasty crud. Poor me.

Thursday, September 10, 2009

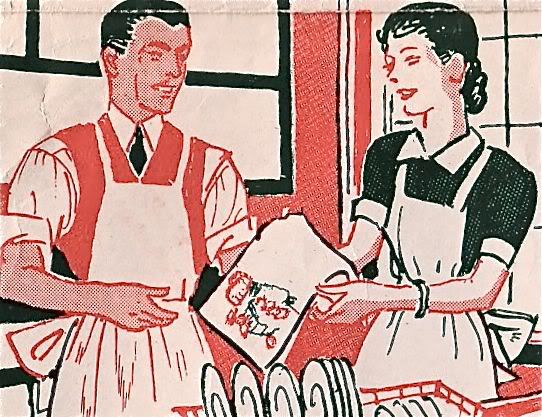
Give a man a tea towel...

and he'll help with the dishes!

Wednesday, September 9, 2009

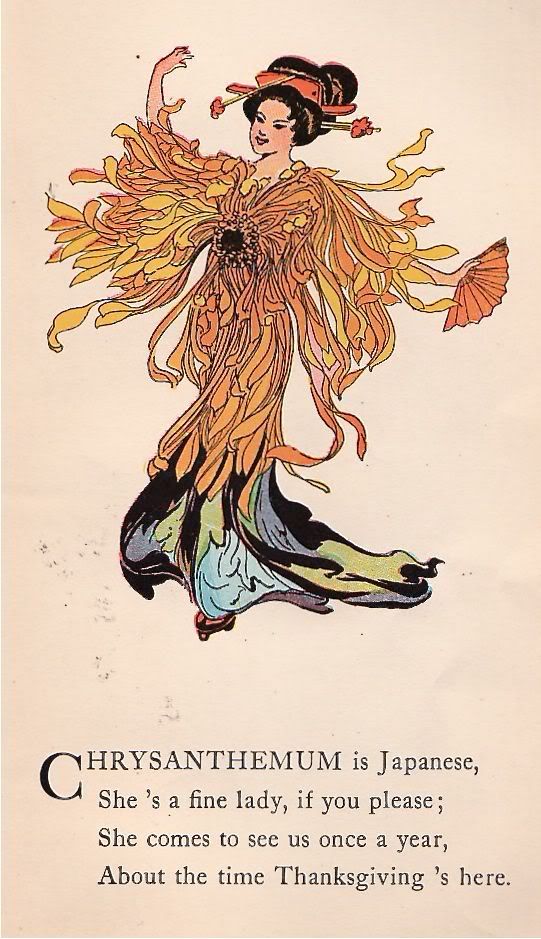
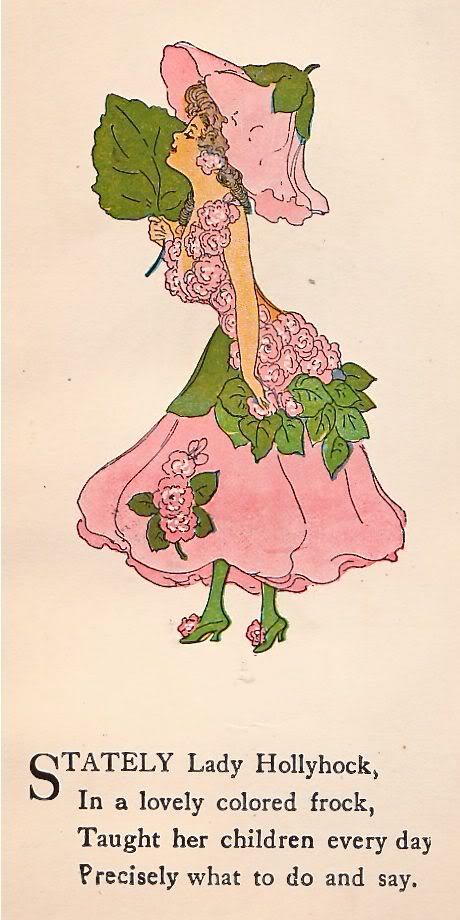
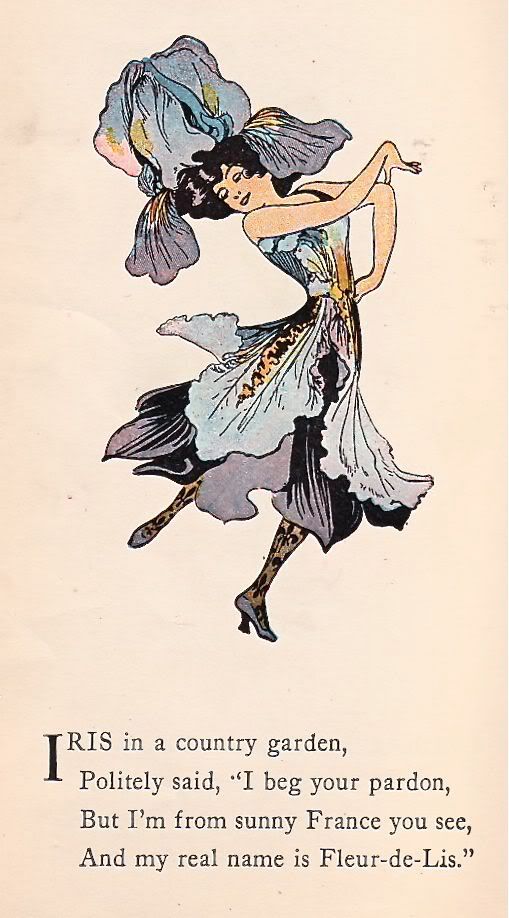
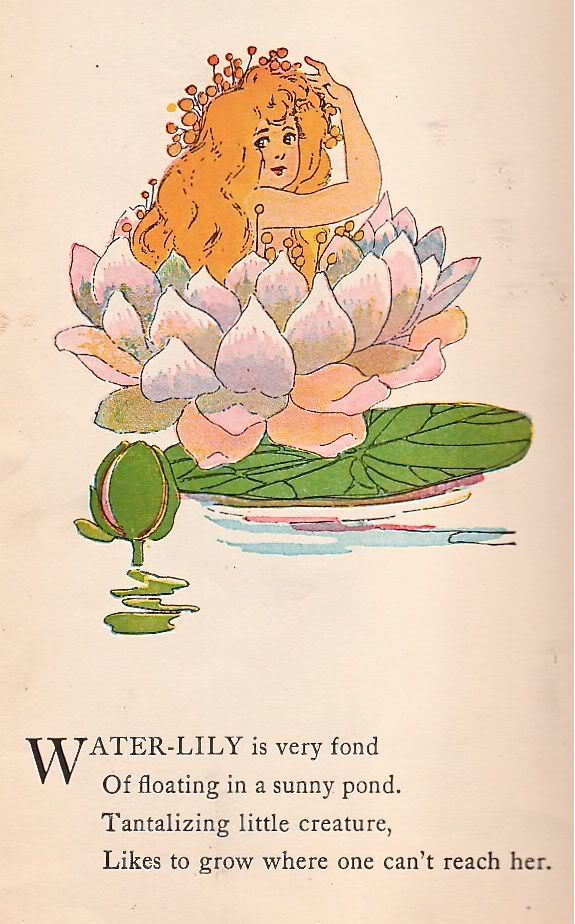
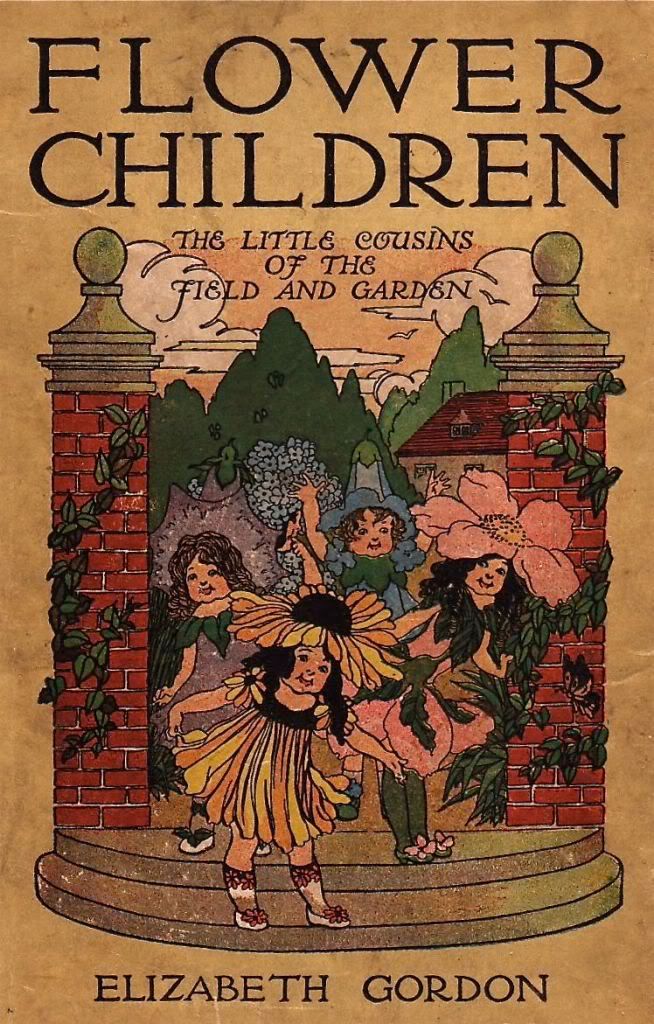
Flower Children - Elizabeth Gordon 1910

Let me introduce you to a charming book, Flower Children - The Little Cousins of the Field and Garden by Elizabeth Gordon, Drawings by M.T. Ross and Published by P.F. Volland & Company in 1910 - my edition is the Fifty-Sixth Edition. And you can see why it would have been printed so many times.
"In preparing this book the author and the artist have attempted to show the kinship of children and flowers, and it is their hope that the little ones into whose hands this volume comes will find herein the proof that their knowledge of what flowers really are is true and that their love for the friendly blossoms is returned many-fold."


Tuesday, September 8, 2009

A Well-Shaped Bag For The Knitter

Another great project from the booklet "Sewing" by Ruth Wyeth Spears from 1937.

"If you are thinking of a gift for some one who knits, why not a really smart knitting bag? Yes, it is possible to make one that doesn't look like a sofa cushion with the feathers taken out. It is all a question of the shape and pro-portions and kind of material. In these diagrams I have given you some measurements that will help in shaping an attractive bag that will hold 14-inch needles, a ball of yarn and a partly finished knitted garment of generous proportions.

As for material don't choose cotton or linen or thin silk for a bag that is going places in the winter. Woolen cloth of the same color as the costume with which the bag is to be carried or of a harmonizing tone is best to use. For the bag shown here 1/4-yard of 54-inch wool material will be enough. The lining will require 5/8 yard of silk or sateen. A 9-inch slide fastener will be needed to make a neat closing.

The dimensions for the side pieces of the bag are given here at A. It is a good plan to cut a pattern of newspaper. Cut a piece 16 inches long and 9 inches deep, fold it the short way through the center and then shape it as, shown. The dimensions for the end and bottom section are given here at B. This is just a straight 34-inch long strip tapered at the ends in the proportion shown. The dimensions for the handle are given at C. It may be necessary to make a crosswise piecing in the long strip for the bottom and end section. Join the pieces for the strip before you shape it.

Face the handle with the lining material. Make the bag and the lining separately and press the seams. Sew the slide fastener to the outside portion of the bag, then stitch the handle in place. When this is done, put the lining. inside, turn in the raw edges at the top and sew it by hand over the tape at the edge of the fastener."

Monday, September 7, 2009

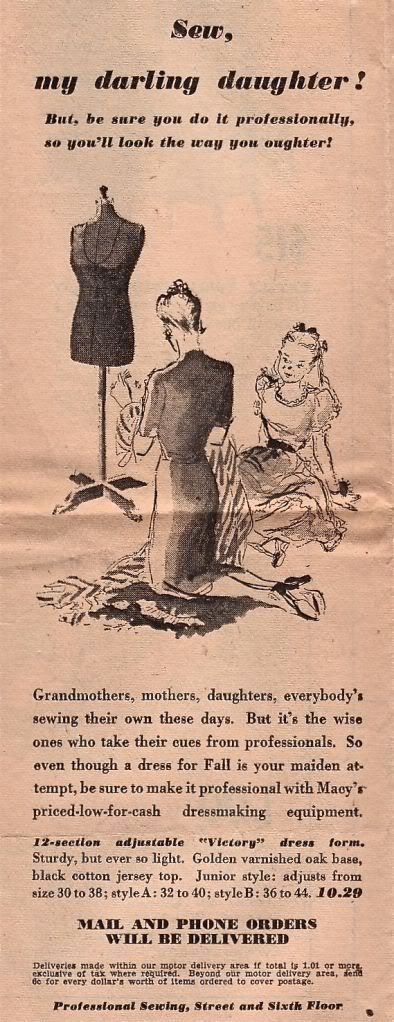
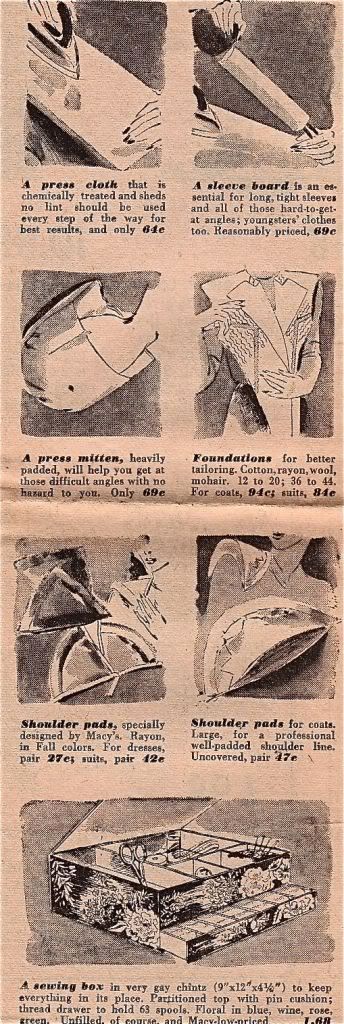
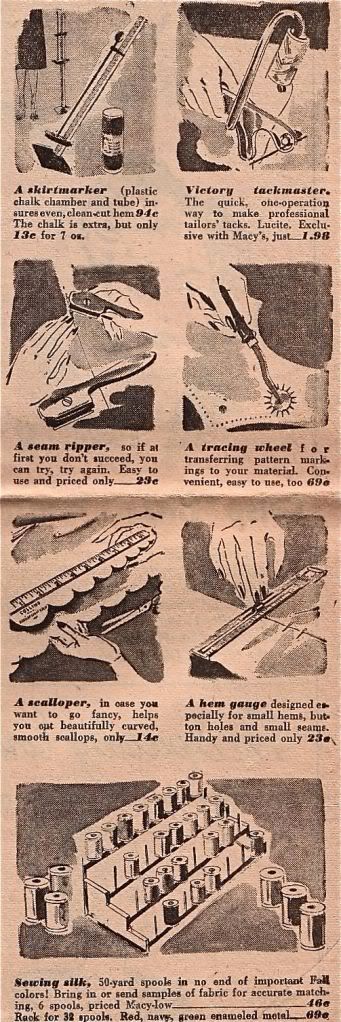
Sew, My Darling Daughter...So You'll Look The Way You Oughter!

"Sew, my darling daughter! But, be sure you do it professionally, so you'll look the way you oughter!"
This is from an old Macy's ad I found in a pattern this week. Just look at all the dressmaking equipment priced Macy-low!


Saturday, September 5, 2009

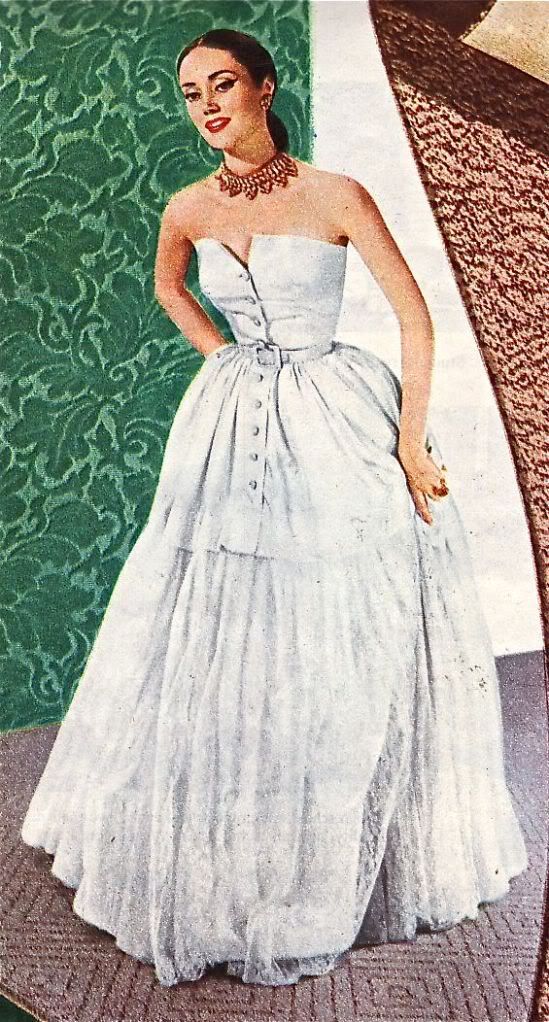
Christian Dior Gown in a Carpet Ad -1950

Which just goes to show you that beauty stands out no matter where it is!

Sunday, August 30, 2009

Make A Pattern For A Rag Baby - Ruth Wyeth Spears, 1937


"A toy booth in a bazaar for a big metropolitan church -just fabric toys and every one of them had been made by a manufacturer! Home-made toys have long been a bobby with me, so the chairman of the toy committee was immediately searched out. "There would be more money in it," she said, "if the guild ladies made the toys." The difficulty seemed to be the stuffing. They just didn't look like anything compared to these sleek manufactured toys. The stuffing is the most difficult part, I know-but it is the most fun, too. It is as much fun, really, as clay modeling. Home-stuffed toys will never look an just alike, as factory ones do, but if a little care is used in modeling them they are as individual as people.

The rag baby shown here is not round and roly-poly, like most rag dolls, but rather flat. She is stuffed very tightly, yet she is quite floppy and sits down gracefully, because of sewing across the body at knees and hips. She is a little more than 12 inches high.

To make your own pattern, cut paper 8 inches wide and 14 inches deep. Rule this paper into 1-inch squares and number these as shown here. Now outline the shape of the doll so that the lines cross the squares exactly as they do here in the diagram. The dotted line is the cutting line and the solid one the stitch line. The same pattern will serve for both the front and back. Mark the stitch line on the fabric in pencil and the eyes, nose and mouth through perforations made in the pattern.

Stitch the front and back together, leaving an opening in one side for turning and stuffing. Stuff the feet and the legs up to the knees, first using tiny bits of cotton pushed in firmly with the blunt end of a pencil. Sew across the knee line. Stuff the upper part of the legs, then the head and arms, working the cotton in in little bits and shaping it from the outside with your fingers. Stuff so tightly that the doll has a chin and chest and is stiff and firm. Sew across the hipline as indicated in the diagram and sew the opening together."
From Sewing by Ruth Wyeth Spears, 1937

Friday, August 28, 2009

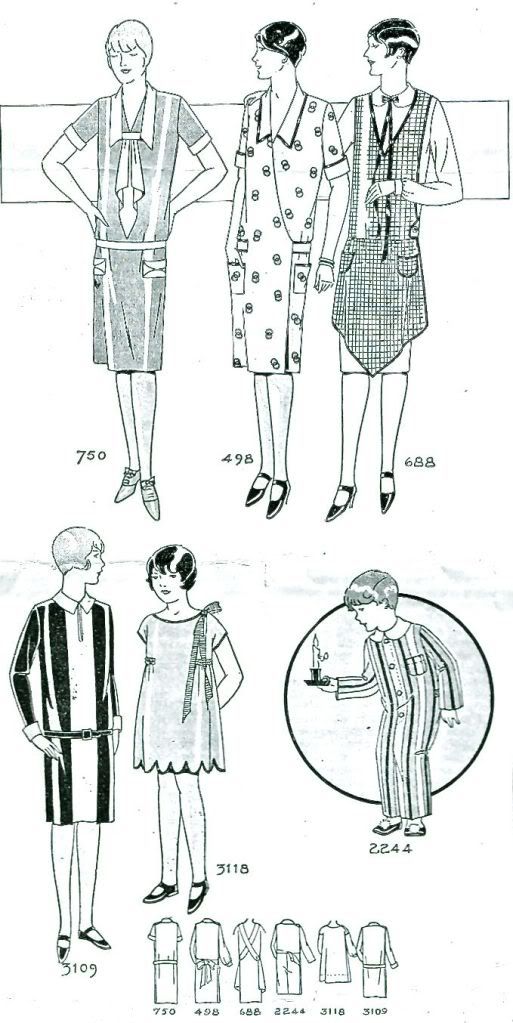
Needlecraft Magazine - The latest fashions from 1927

For women, girls and little ones...what everybody was wearing in 1927.

Morning or Sports-Dress

Simple, slenderizing model with youthful neckline, finished with vestee and attached jabot. The dress, No. 750, is designed for 36, 38, 40, 42, 44 and 46 inches bust-measure.


House-Dress

Attractive one-piece dress, for mornings with surplice-closing and large patch-pockets. The dress, No. 498, is designed for 36, 38, 40, 42 and 44 inches bust-measure

Company Apron

A entirely new idea in an apron design is, seen in style No. 688. It is just as practical as it is attractive. The apron No. 688, is designed for sizes small, medium and large.

For the Smart Junior

Any little miss would be glad to be the proud owner of a dress such as this. The dress, No. 3109, is designed for 6, 8, 10 and 12 years.


Typically French

Straight from Paris, featuring the new round neckline, scalloped hem line ind yoke-effect made by the soft shirring at either side of front. The dress, No. 3118, is designed for 2, 4, 8 and 10 years.


Comfortable Sleep-Ins

A little sleeping-garment is most healthful because it is most comfortable. The garment, No. 2244, is designed for 2, 4, 6, 8, 10 and 12 years.

Thursday, August 27, 2009

Give Your Coat A Gala Lining - From Woman's Home Companion 1950


Renee Duke in her new-old coat. She hemmed the lining, made it an inch shorter than the coat, tacked it to the coat at the seams. Then she gave the coat new buttons, made a blouse to match the lining.

This year the newest coats flaunt gay and brilliant linings. As we saw more and more of them we wondered if this mightn't be a good way to make an old coat look new. Associate Editor Renee Duke brought in a gray flannel coat that she had worn so long she didn't think she could get another season out of it-would we like to use it as a guinea pig? We would and did. We asked our dressmaker to work out the simplest possible method of putting in a new lining-the step-by-step process you see here. And Renee likes her coat so much that she plans to wear it all winter.

1. When you rip, You may find that an inner lining has been stitched to the lining or the coat. Either way it's simplest to stitch it to the coat, if you want to retain it.

2. To make a pattern for the new lining. pin the pieces of the old to heavy paper, draw around them. Be sure to mark the grain lines before you cut the new fabric.

3. If you use plaid or stripe, match it. Then sew scams of lining together, also seams of sleeves. Do not attach sleeves until body lining has been sewed to coat.

4. Slipstitch lining to coat, leaving lower edge free. Slipstitch sleeve linings to lining now sewed to coat at shoulders, turn under at wrists and hem to sleeves.

Tuesday, August 25, 2009

A Scarf, Cuff and Belt Set - 1934

Just get out some silk and whip this set up!

Here is a gift that makes a really substantial showing and the entire cost of it will be three-quarters of a yard of silk, a matching belt buckle and a little thread. For this small investment you can make a scarf, cuff and belt set that fits perfectly into the new mode for simple frocks and smart accessories.

Either flat crepe or taffeta is good material to use, and be sure to choose a color that has some interest-a red that is a little rusty or that leans a little toward magenta, a blue that is a little green or quite violet, a green that is deep and strong or soft and silvery or an amber color with life in it.

The silk will probably be 39 or 40 inches wide. The diagram at the upper left gives you the dimensions for dividing the three-quarter yard to make this set. The section shown at D is the scarf. B and C are the scarf ties. D and E are the cuffs. F is the belt.

Fringe The edges of the scarf square one-half inch deep, then stitch along the top of the fringe to keep the material from raveling more. Fold corner wise wrong side just a little off center, as shown here in diagram E. Mark a 4-inch slash at the center of the fold edge, stitch around the marking and then slash between the rows of stitching, as indicated in this diagram. Turn right side out, press the turned edge turn back the slashed corners, make the ties double and sew them on as at G.

Monday, August 24, 2009

Happy Shiny People

I think it's the outfits!


Sunday, August 23, 2009

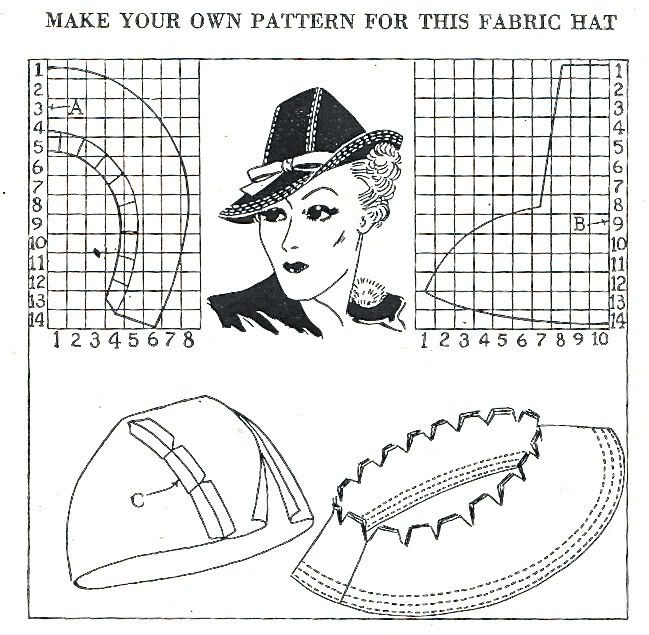
Make your own pattern for this fabric hat - 1937

I just got a group of booklets called Sewing by Ruth Wyeth Spears. This is one was published by Syndicate Book Press in 1937. I was able to find that she authored tons of books about sewing and decorating, but I couldn't find much about the woman herself. I'm thinking she was the Martha Stewart of her day. If you know more please share.
There are tons of cool projects like this, do let me know if you make this hat...we want a picture!

Here is a smart stitched hat that you may make of any silk or wool fabric. It is interlined with either crinoline or heavy muslin. You will need three-quarters of a yard of the hat material, and the same amount of interlining. You will also need a hat lining and one yard of three-quarter inch wide grosgrain ribbon for the trimming.

For the brim pattern cut a piece of paper 8 inches wide and 14 inches deep. Rule this paper into one-inch squares, as shown at the upper left, and then outline the brim pattern so that the lines cross the ruled squares just as they do here in the diagram. The edge of the pattern marked A is placed on a fold of the goods in cutting the fabric. Use the pattern to cut the top and 'bottom of the brim and also the interlining.

To make the crown pattern, cut a piece of paper 10 inches wide and 14 inches deep and rule it in one-inch squares, as at the upper right. Outline the pattern over the squares, as in the diagram. The edge of the pattern marked B is placed on a fold of the goods in cutting both the crown and the interlining.

Baste the seams of the crown and try it on to adjust the size, then stitch the seams, clip the edges and press them open, as shown here at C. Turn to the right side and make the two decorative rows of stitching along the seam lines. Make the crown interlining of the stiff material.

Baste, try on and then stitch the center back joinings in the two brim pieces and the brim interlining. Place the two layers of the hat material with right sides together and then place the interlining on top. Baste and stitch around the outside edge, then turn right side out, baste along the turned edge and then finish it with three rows of stitching, as shown.

Saturday, August 22, 2009

Modes Royale Fashion Refreshment - 1951

Another page from the Modes Royale catalog from 1951.
Pattern 1027 is a one-piece dress, draped over-skirt, dolman sleeve.
Pattern 1028 is a one-piece dress. Cowl drape at neckline continues into back waist and is again released in a floating panel.

Don't you think this gal defines the word "haughty"?

Friday, August 21, 2009

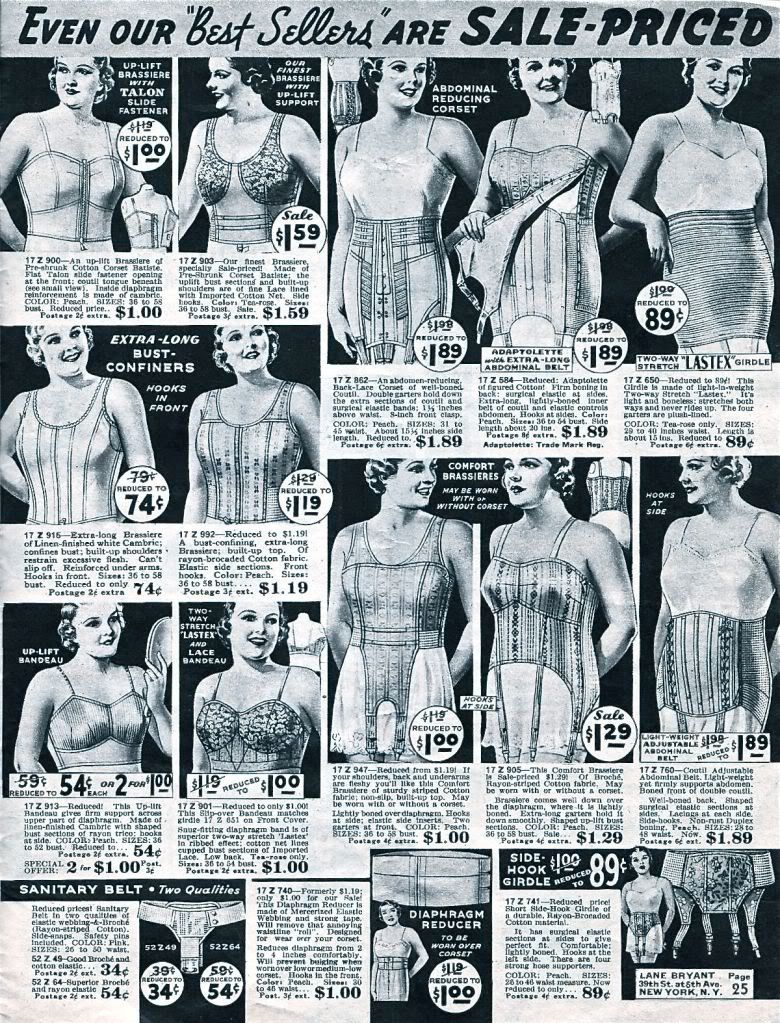
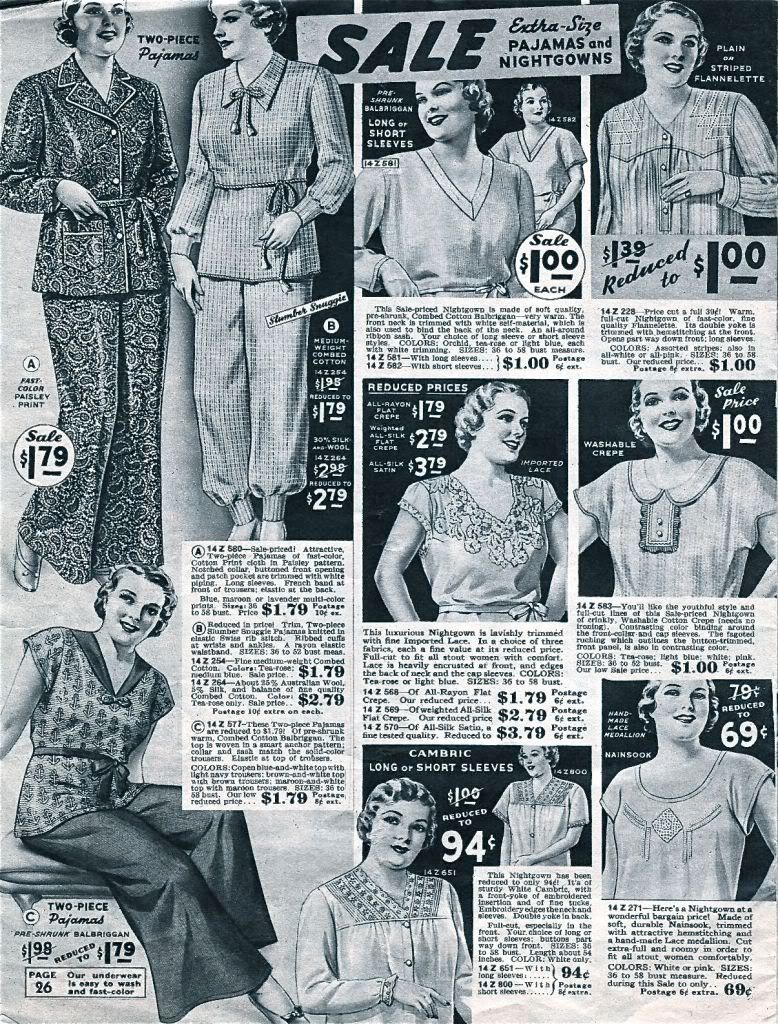
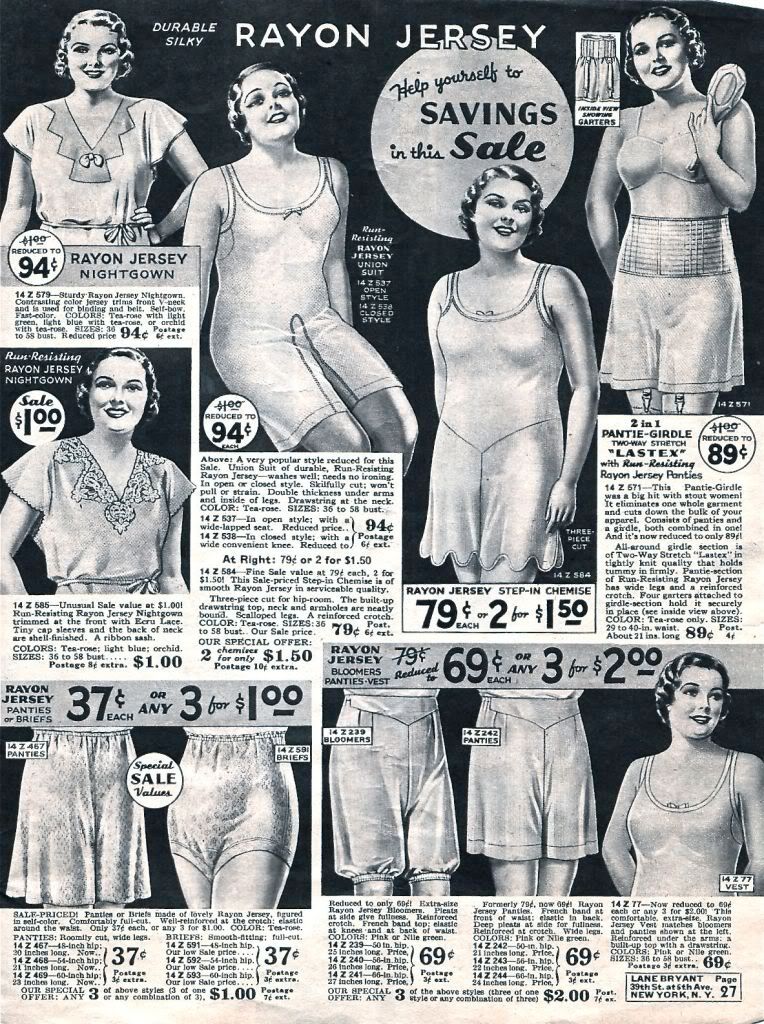
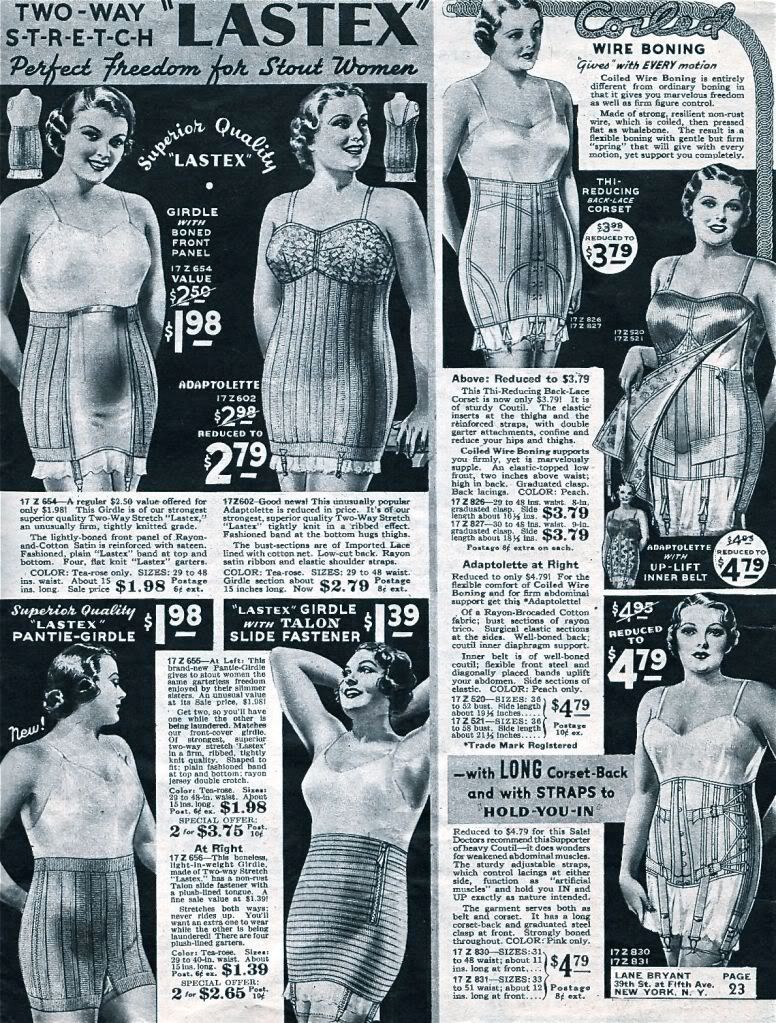
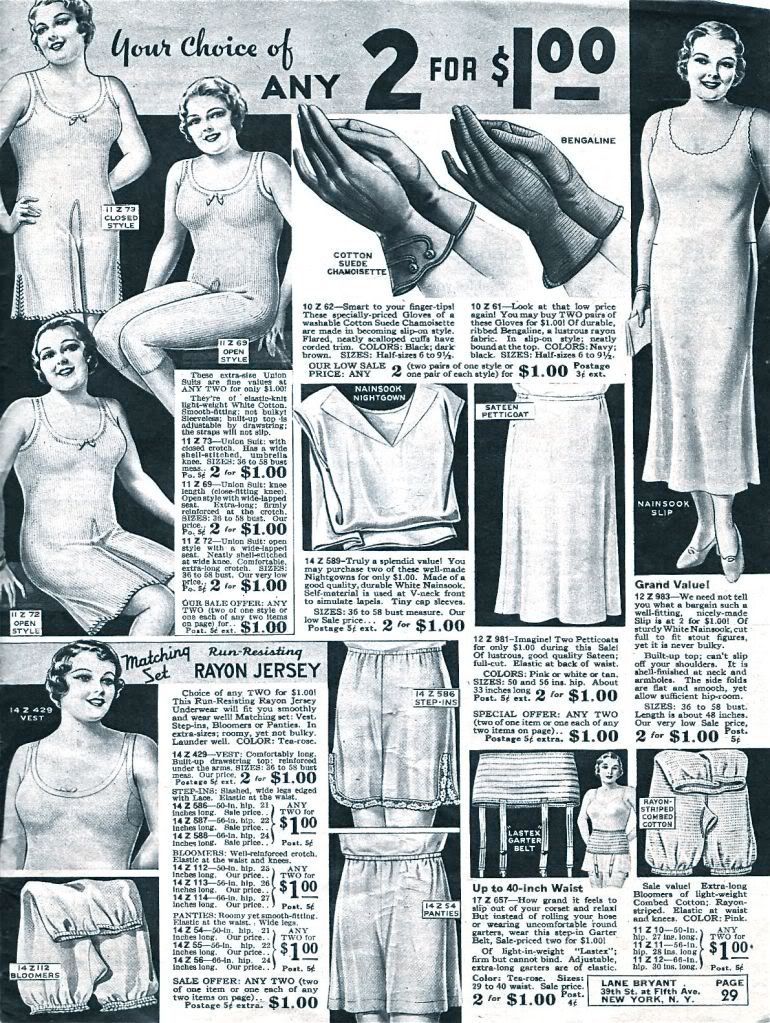
Rubber Reducers, Bust-Confiners, Bloomers, Slumber Snuggies! Lane Bryant Catalog 1937 ( Part 5 )

"...resists the greater strain stout women place on their underclothes."


And don't miss the Diaphragm Reducer...to be worn over corset" Gads, how did these poor women get dressed? Well, we'll leave them to their misery, this is the end of this catalog. But we can all be glad times have changed!

Thursday, August 20, 2009

Wednesday, August 19, 2009

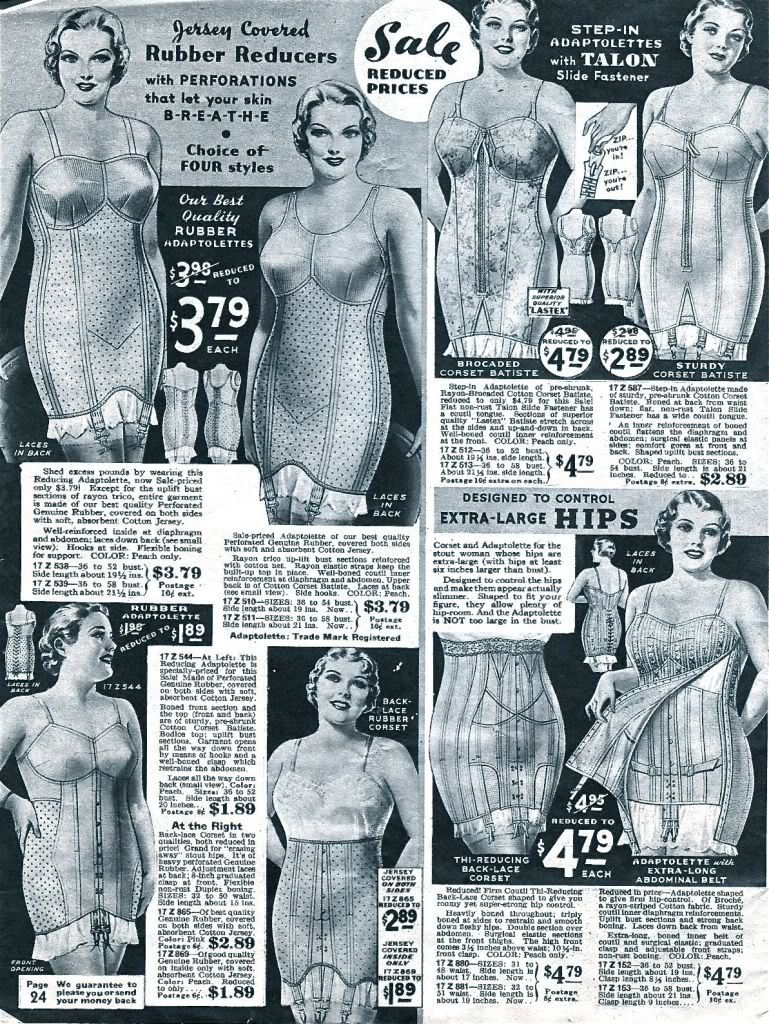
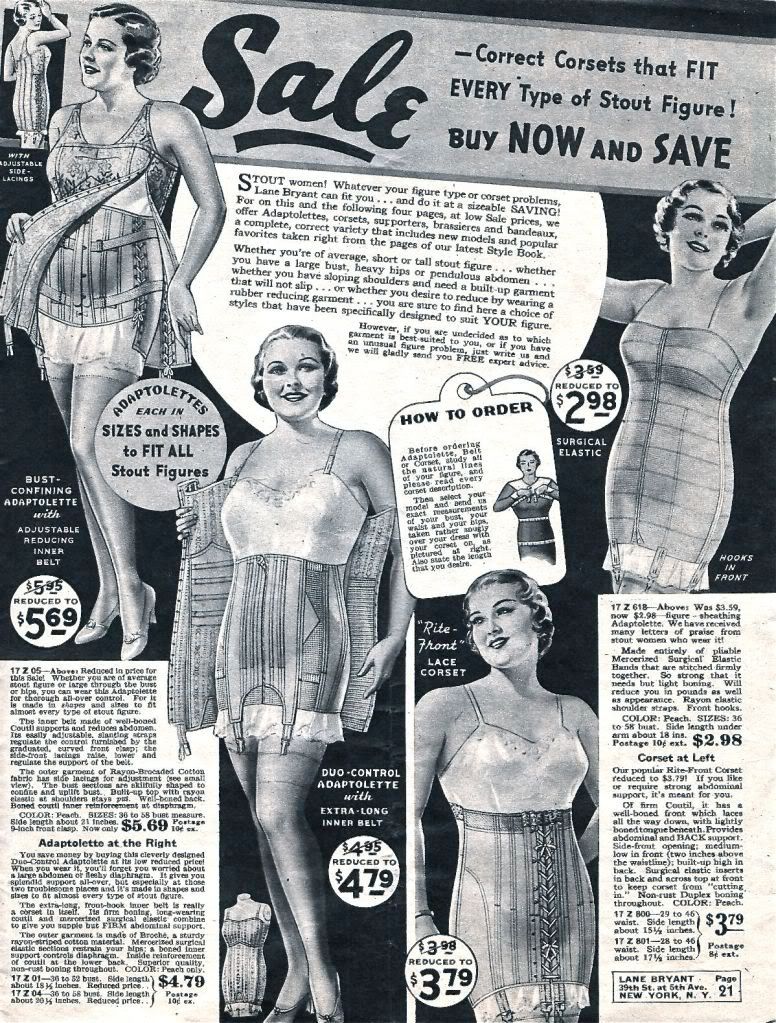
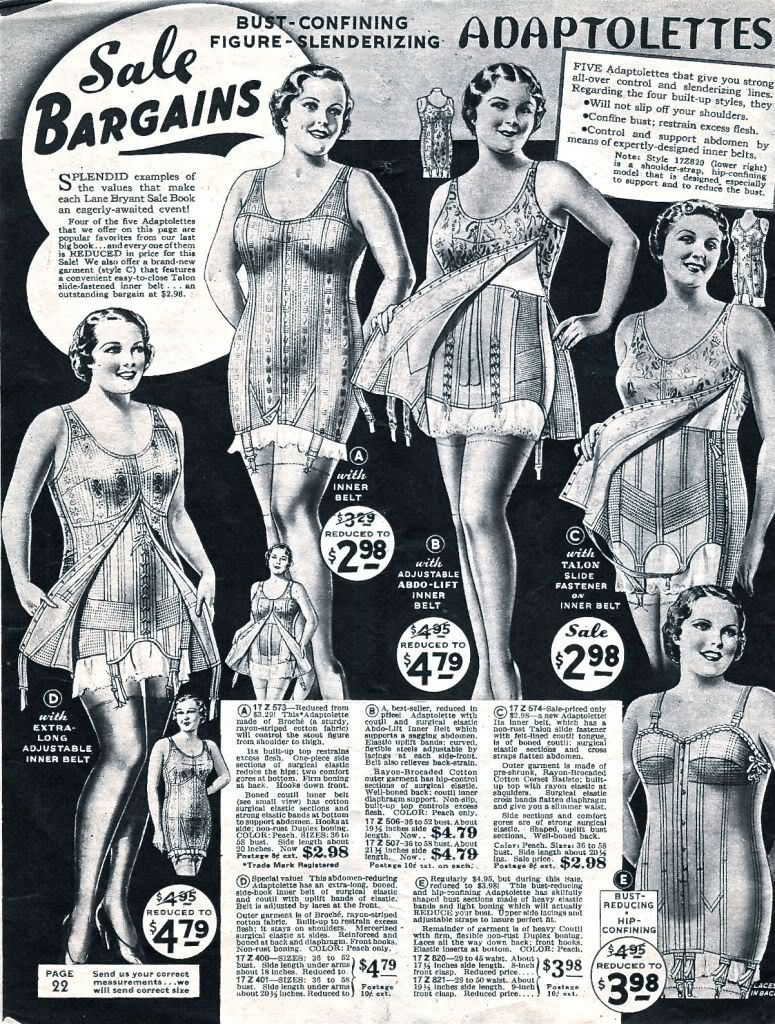
Adaptolettes, Corsets, Supporters, Brassieres and Bandeaux - Lane Bryant Catalog - 1937 (Part 4)

"Bust Confining Adaptolette with Adjustable Reducing Inner Belt" Ah, the good old days!


"...hold you IN and UP as nature intended."

Tuesday, August 18, 2009

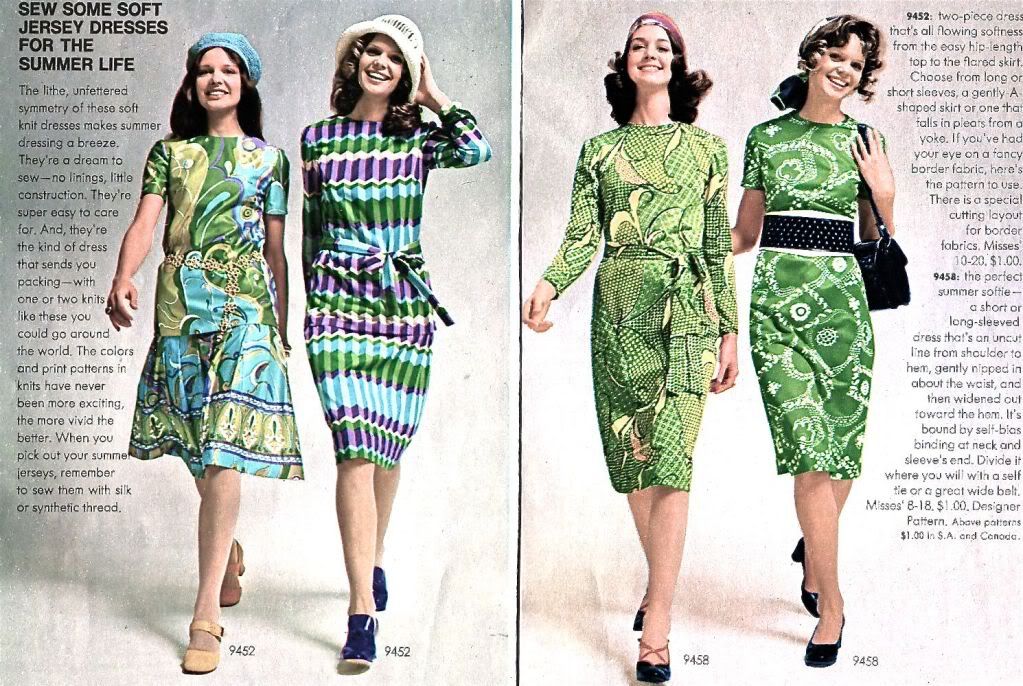
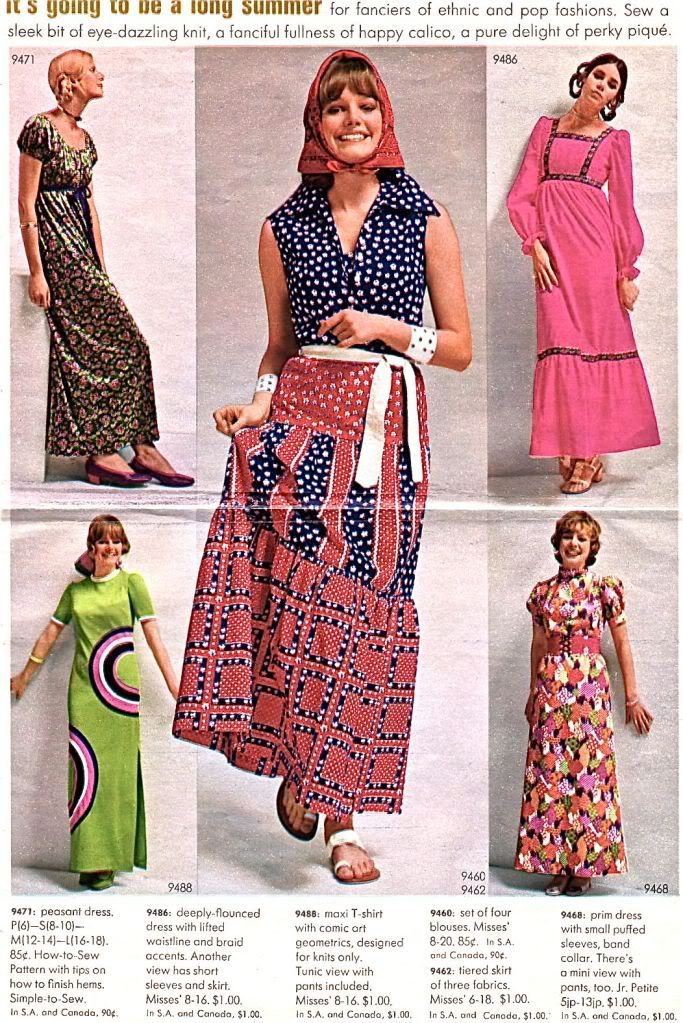
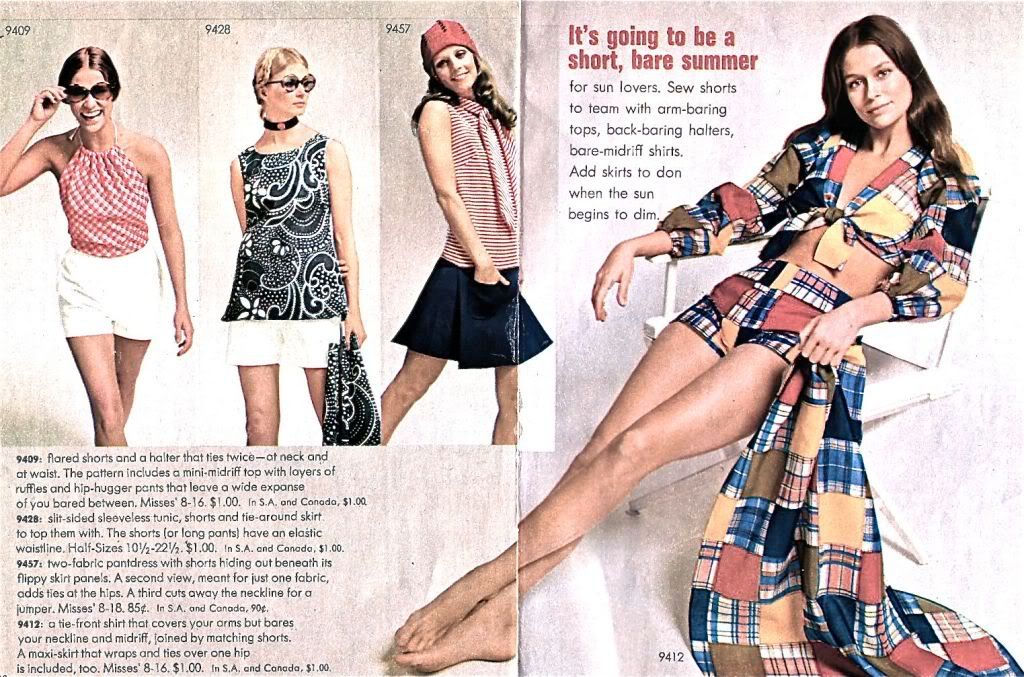
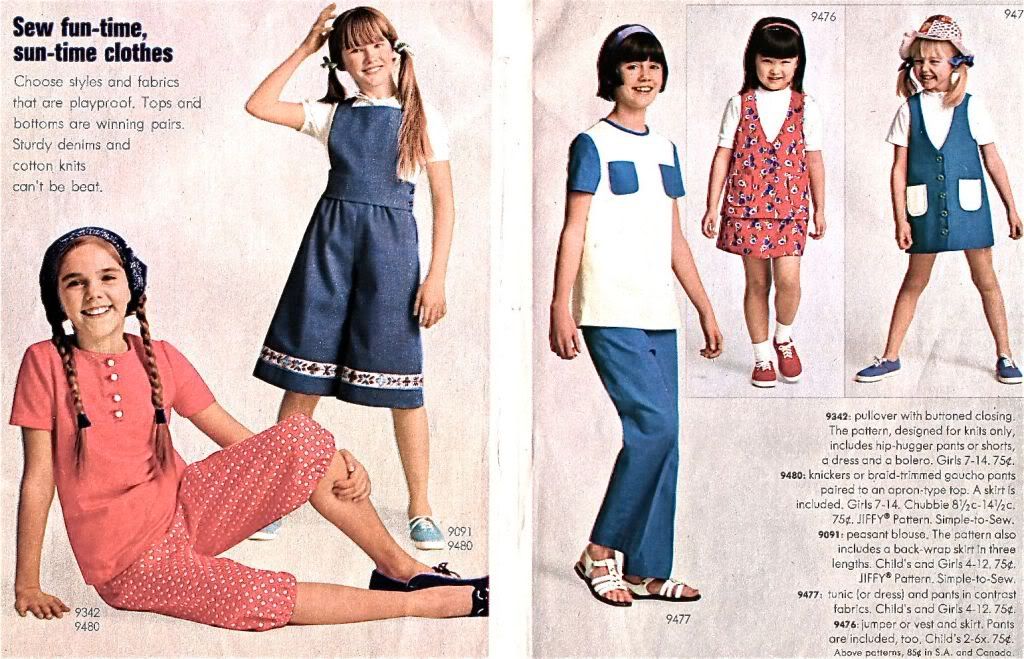
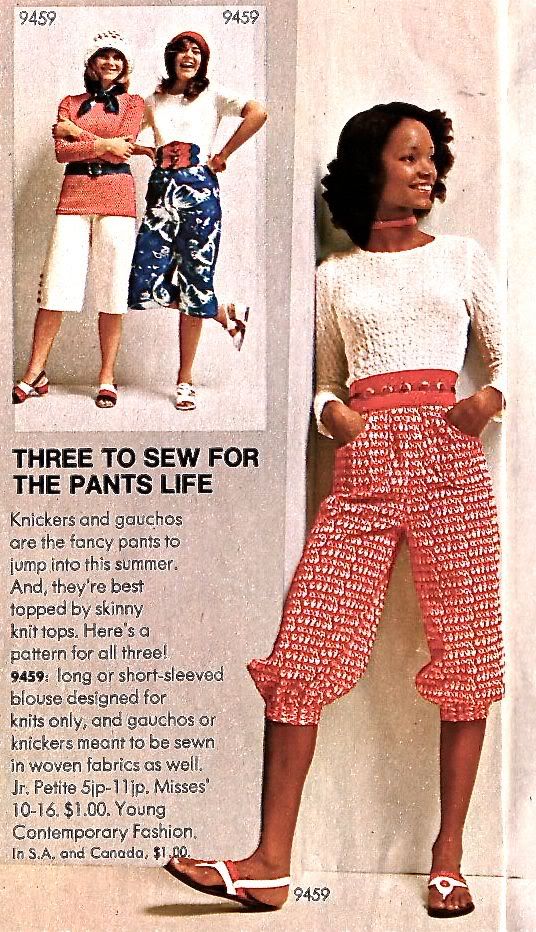
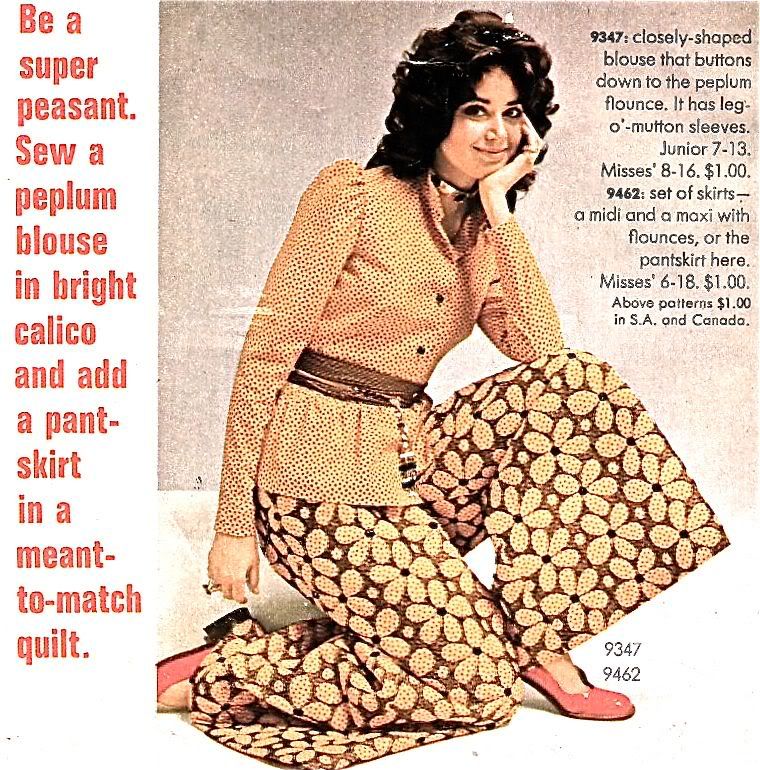
Was there any good Fashion in 1971?

Can't prove it by these examples.


Be a super peasant? Really? Maybe it's because I was there, but there isn't much to inspire fond memories here. Some of the prints were cool (note the green dress with the graphic lines), but the flip side was a LOT of bad knits and "man-made" fabrics. Also it looks like the expectations of a sewers skills had lowered. Those gals who could rock a shirtwaist dress a few years back now were making some pretty basic stuff. These kids clothes are especially plain and boring. Or maybe I'm becoming a grouch.